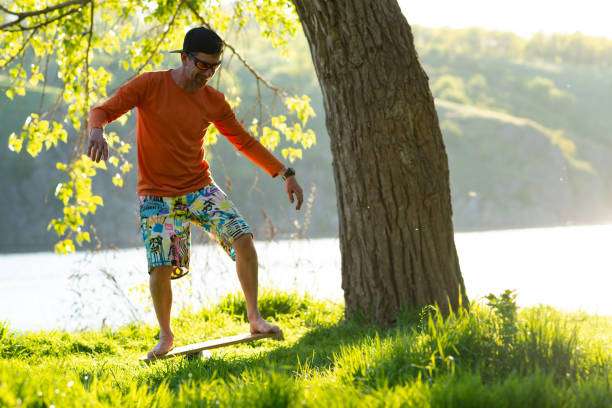
Walk into any gym, and you’ll always see someone standing on a wobbly board, focused, core engaged, ankles trembling slightly. This simple yet addictive training tool is the balance board , increasingly incorporated into daily workouts .
But the question is usually not “Does it work?”, but rather— do you truly know how to transform it from a toy into a training engine?
Balance training may seem light, but it involves the coordination of deep muscles, spatial awareness, weight shifting, and our understanding of body stability. The real obstacle for many users isn’t the movements themselves, but rather:
not knowing where to begin, how to choose the right exercises, or how to progress from beginner to advanced.
Therefore, this article isn’t simply about “how to use it,” but rather about creating a balance board guide for you from zero knowledge to complete mastery , enabling you to
—know how to choose
—know how to train
—know how to avoid pitfalls
—know how to advance
—know how to train for different age groups
—and understand the differences between home training and gym training.
Ultimately, this will create your own personalized balance training roadmap .
Understanding the core logic of balance board training: from “shaking” to “stability” through body techniques
If running is likened to a linear movement, then the balance board is the body’s fine-tuning system. The moment you step onto the board, your center of gravity begins to shift, and your ankles, knees, hips, core, and shoulder girdle automatically activate anti-sway mechanisms. This mechanism involves three key systems:
1. Proprioception:
The body’s perception of its position in space. Many professional athletes use boards to restore precise feedback in their ankles or knees.
2. The deep core
is not the six-pack abs, but rather the small muscle groups responsible for internal stability, including the transverse abdominis, multifidus, and transversus abdominis.
3. Weight Shifting:
This is a key ability for lateral movement in skiing, surfing, skateboarding, longboarding, and even badminton and tennis.
Once you understand these concepts, you won’t treat the balance board as just a “standing exercise for core training,” but rather as a highly adaptable training tool. From here, when you delve into purchasing and operating techniques, you’ll get started much faster.
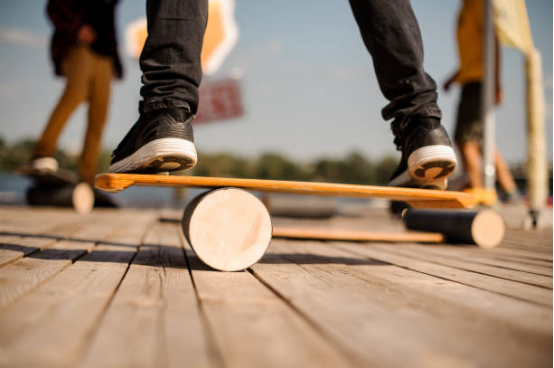
How to choose the right balance board for you: Focus on your goals, not just how it looks.
The sheer variety of balance boards available on the market can be overwhelming for beginners. But choosing the right tool is the first step in your learning roadmap. You don’t need to be an expert in every product category; just understand three things: stability, difficulty curve, and training objectives.
1. Stability: The more stable it is, the better it is for beginners.
New users are often misled by the medium difficulty level, thinking it’s the “standard” version. However, if the stability of the balance board is too low, the ankles will tire, the core will become overly tense, and even postural compensation may occur.
Methods for determining stability include:
- Large contact area → Suitable for beginners
- Longer balance board length → Easier control
- The wider the roller, the higher the difficulty
- Planar or micro-arc structures → Suitable for beginners to practice steadily
2. Difficulty Curve: From Controllable to Challenging
A suitable balance board for long-term training isn’t necessarily the most difficult, but rather one with progressively increasing difficulty.
If you plan to progress from beginner to advanced, you can check if the balance board supports this.
- Multidirectional instability (front/back + left/right)
- Static and dynamic switching
- It can be easily incorporated into different movements (squats, push-ups, twists).
- Suitable for both home flooring and gym mats
If you would like to learn more about the differences in difficulty design for balance boards, our website has a complete structural breakdown, which you can use as further reading.
3. Training Objective: Each person’s route is different.
You can ask yourself three questions:
- Is the main focus on improving core stability with a balance board?
- Want to use it as a pre-workout energizer?
- Or is it intended for specific strengthening of balance-related sports?
The answer will directly affect the structure and flexibility of your choice of balance board.
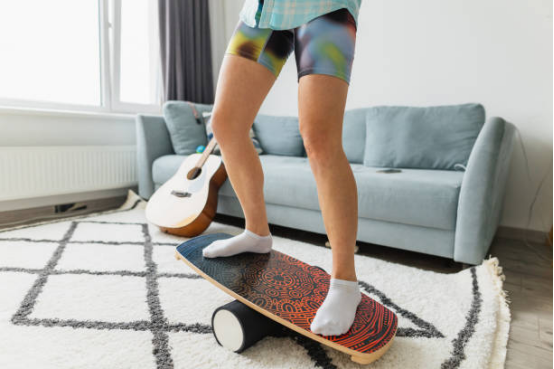
Tips for balance beginners: Learn to “read” the swaying motion.
For most beginners, the challenge isn’t that “the boards are too difficult,” but rather that “their bodies don’t know how to react.”
The following introductory tips will teach you the correct body coordination from the start, instead of relying on rigid defense.
1. Start with your toes, not your waist.
Many people tend to tense up their entire body when they get on the board, which actually makes them more unstable.
The correct way is:
- Toes grip the ground first
- Active arch support
- Ankle micro-adjustment
- Finally, let the core start smoothly.
This is a bottom-up chain.
2. Short training time but high precision
Beginners often make the mistake of standing for too long.
The most effective way to get started is:
- 2–3 minutes each time
- Repeat 4–6 sets
- Each group focuses on one key point.
You’ll find it’s much more effective than standing for 20 minutes at a time.
3. Maintain a fixed gaze.
If you focus your gaze on the floor or let it wander, you’ll become more unstable.
Find a fixed point about 2–3 meters in front of you and engage your visual system in the stabilization mechanism.
4. Learn “controlling the decline” first, then learn “maintaining the trend.”
Maintaining your balance isn’t the key.
The key is: how your body returns to center when you’re about to lose your balance.
This is the foundation of all advanced training.
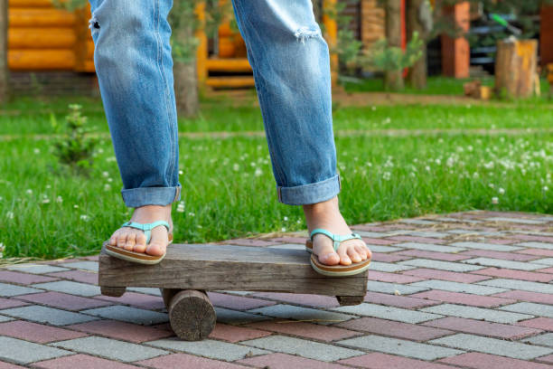
Common Mistakes to Avoid: People who train quickly often make these basic mistakes.
Many users have practiced for six months but are still unable to advance from beginner to advanced levels, mostly due to the following mistakes:
Mistake 1: Knee valgus or excessive valgus
This not only affects balance but also significantly increases stress on the knees.
Correction method:
- Lower leg towards the second toe
- Imagine your knees moving forward towards your toes, not inward.
Mistake 2: Holding back the core
The key should be “active stability rather than rigid resistance.”
If you often experience lower back pain after training, it’s most likely due to holding your breath.
Error 3: Shoulder strap locked
Shoulders should be kept naturally relaxed and chest open; otherwise, the upper body will constantly create unnecessary swaying.
Mistake 4: Training pace is too fast
Balance training is not HIIT.
The slower the pace, the more sustainable control your body can develop.
The difference between home training and gym training environments is that what affects your training efficiency is not the training board, but the environment.
Different environments will change your training strategies.
Home training
Suitable:
- Lightweight core training
- Rehabilitation or postoperative stabilization training (requires professional advice)
- Daily balance maintenance ability
The advantage of home training is its sustainability, but the challenges are:
- Different flooring materials (wooden floors are more slippery).
- Small available space
- Noise needs to be reduced (suitable for static practice).
Home training tends to follow a stable, controllable, and frequent approach.
Gym training
Suitable:
- Advanced techniques
- Compound exercises combined with weight training
- More space, can be combined with other equipment
For example:
- board squat
- board push-ups
- battle rope + board
- Lateral jumps + board
Gym training tends to be high-intensity, highly stimulating, and involves a variety of exercises .
Neither is inherently superior or inferior; rather, they are suited to different stages and training goals.
You can also find more “scenario pairing examples” on our website.
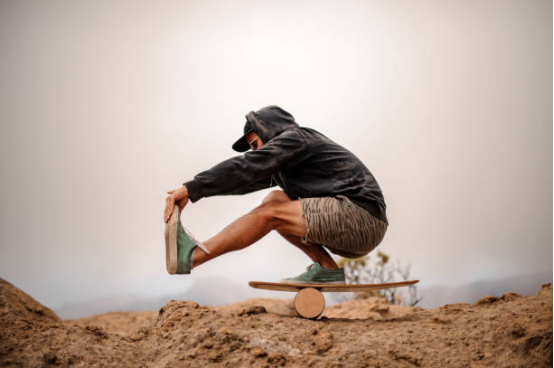
Balance training roadmaps for different age groups: How to design your personalized growth cycle
Balance training is a skill that transcends age groups, but the focus of training differs significantly across age groups . The following is a roadmap compiled based on actual user feedback and industry trends.
Adolescents (12–18)
Core Objective: Basic Coordination + Physical Agility
Key Points:
- Single-leg standing variation
- rocking back and forth
- Gamified training (throwing, catching)
avoids: - Overloading
- Long-term static training
Adults (18–40)
Core objectives: Core stability + Athletic performance
focus:
- squat
- Rotation
- Lateral shift of center of gravity
- Dynamic and static hybrid training
Middle-aged and young adults (40–60)
Core objectives: Reduce the risk of sports injuries + Maintain balance
. Key points:
- Slight control
- slow rhythm
- Strengthen the feedback ability of the ankles and knees
to avoid: - High-impact training
- Fast jumping actions
Elderly (60+)
Core objective: Fall prevention + Maintaining mobility
. Key points:
- Controllable ground
- High stability plate type
- A slow-paced, short-set, low-risk approach
is best, ideally with family members present, and should be guided primarily by professional advice.

How to build your own balance training roadmap, from beginner to advanced skills development.
This is the core of this article: to show you the complete path from A → B → C → D, instead of “just following what others do”.
Beginner stage: Learning to control the center of gravity
Objective: Maintain center of gravity, control swaying, and develop ankle agility
. Movement theme:
- Maintain standing posture
- Eye fixed point of view
- Slight forward and backward movement
Beginner stage: Add movement
Objective: To prepare the body for more disruptive
movements.
- One-legged standing test
- rocking back and forth
- Left and right fine adjustment
- Slight squat on the board
Intermediate stage: Incorporate action combinations
Objective: To ensure the core, the chain, and the coordination are fully involved in
the action theme.
- A wider range of forward and backward and left and right swings
- Twisting movements
- Squat + Balance
- Auxiliary tools (resistance band, kettlebell)
Advanced stage: Incorporate explosive power or complex movements
Objective: To enable balance to participate in multi-directional movement.
Theme:
- Dynamic jump landing on the board
- battle rope + board
- Lateral cutting motion simulates skateboarding and surfing
- Hand-supported movement (push-up)
You can use this roadmap as your long-term training blueprint. We also have a full visual version on our website, which you can check out if you want to have it “stuck on your gym wall.”
Build your own balance training ecosystem
In the world of balance board , there is no fixed route, but there is a general rule: the more stable a person is, the more freely they can move; the more they can control the swaying, the more power they can exert.
If you’re planning your multi-stage training program or looking to expand your core and coordination training, consider this guide as a starting point, not an end point. The balance board is a great tool to incorporate into your routine to help improve overall stability and control.
You can also explore more resources related to balance training on our site, from skill libraries and training methods to demonstrations of movements in different scenarios, all designed to help you continuously expand your balance training roadmap using a balance board.
Want to make your training more systematic?
Then start today with a balance board and turn your balance into a real competitive advantage.