The solution to habitual ankle sprains: Balance Board’s guide to enhancing ankle proprioception.
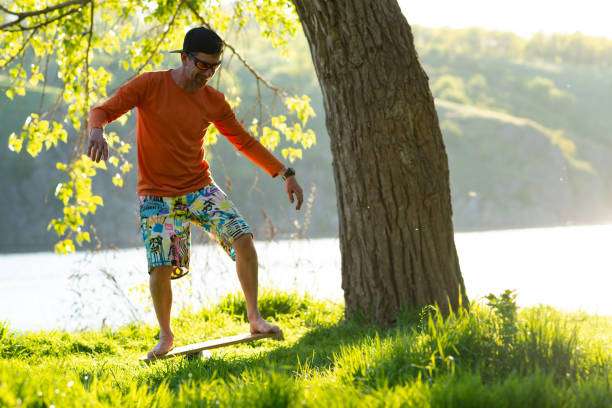
Why do your ankles always “betray” you?
Have you ever had this experience: walking on a flat sidewalk, with no obstacles in sight, your ankle suddenly and inexplicably “goes limp”?
Or when landing from a ball game, if you slightly step on someone’s foot, your ankle will immediately twist outward, followed by the familiar sharp pain and swelling that lasts for weeks.
If you can relate to this, you may have fallen into a vicious cycle of “Chronic Ankle Instability“.
Most people, after a sprain, focus all their energy on ice, rest, and reducing swelling. These are certainly correct, but they only address the “hardware” damage.
The real problem lies in the “software” malfunction— the loss of proprioception. This is why, even after the muscles have healed, your ankle still feels “empty” and you’re hesitant to put weight on it.
Today, we won’t discuss dry theory. Instead, we’ll explore how to use the seemingly simple tool, the Balance Board, to rebuild the “communication circuit” between the brain and ankle through scientific neuromuscular control training.
This approach truly solves the problem of how to recover from habitual ankle sprains.
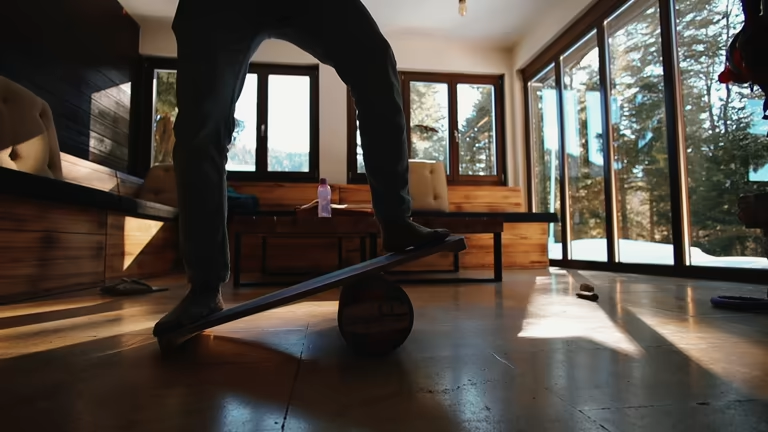
The severed signal line: understanding proprioception and ankle instability
To understand why the Balance Board works, you first need to understand why traditional calf raises (tiptoeing) don’t save your ankles.
What is proprioception?
Imagine you’re in a dark room and you reach out to touch your nose. The reason you can touch it accurately is because your muscles and joints have countless tiny “sensors” (proprioceptors) that report the position of your limbs to your brain in real time.
When you suffer your first serious ankle sprain, the ligaments are overstretched or even torn. This not only damages the tissue but also destroys the mechanoreceptors distributed within the ligaments.
As a result, your brain experiences a “delay” or “error” in sensing the position of your ankle.
When the foot tilts slightly again, the brain doesn’t receive the signal in time and therefore cannot command the muscles to immediately contract and pull the foot back. This delay of a few milliseconds results in a new sprain.
Peroneal muscles: The neglected line of defense
In ankle rehabilitation exercises, we must focus on two key muscles: the peroneus longus and the peroneus brevis. Located on the lateral side of the lower leg, they are the “dynamic stabilizers” of the ankle.
When the foot rolls inward (the action of twisting the ankle), the peroneal muscles must contract explosively in an instant to counteract the rolling force.
The core value of the Balance Board lies in its ability to forcefully activate these normally lazy deep muscle groups on an unstable plane and shorten their reaction time.
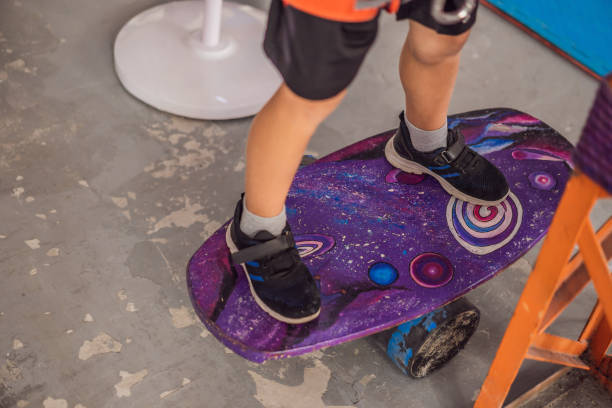
Why is the Balance Board a miracle tool for recovery?
Many physical therapists (PTs) recommend using the Balance Board for post-rehabilitation because it simulates the “unpredictability” of the real world.
- Closed Kinetic Chain: Your feet are fixed to the board, and you control the board by adjusting your center of gravity. This training method stimulates pressure receptors within the joints simultaneously, simulating the force exerted during walking or running more effectively than simple resistance band training.
- Developing micro-adjustment skills: When standing on flat ground, your ankles are stationary. But on a Balance Board, to keep the board from touching the ground, your ankles must make dozens of tiny adjustments every second. This high-frequency feedback loop is key to restoring proprioception.
- Comprehensive stability: Compared to calf raises, which only involve up-and-down movements, balance boards offer multi-dimensional challenges in both left-right (inversion/outversion) and forward-backward (dorsiflexion/plantarflexion), comprehensively enhancing ankle stability.
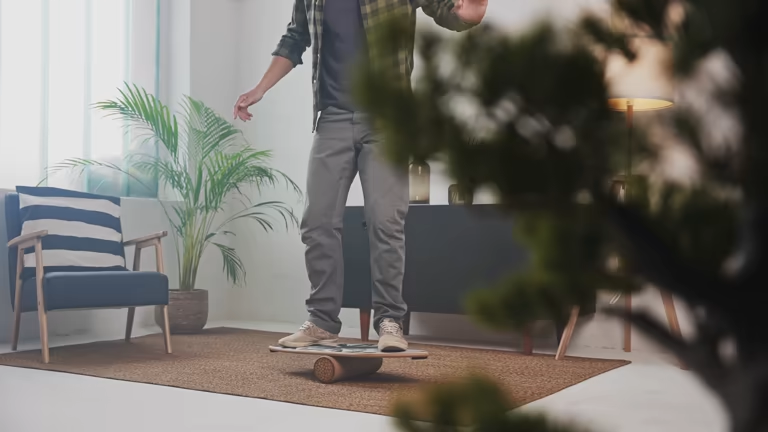
Step-by-step approach: Balance Board’s three-step ankle strengthening program
Warning: If your ankle is in the acute phase of redness and swelling, or if you experience severe pain even when standing still, do not perform the following exercises. This guide is intended for healthy individuals recovering from injury or for preventing sports sprains.
Phase 1: Posture Awareness (Awakening Dormant Nerves)
For those new to the Balance Board or those who have just stopped using crutches, safety is the top priority.
Preparation: Find a chair to sit on, place your feet on the balance board, with your knees perpendicular to your ankles.
Forward and backward touchdowns: Using only the strength of your ankles, control the balance board to tilt forward to touch the ground, then tilt backward to touch the ground. Perform the movement slowly, feeling the contraction of the muscles on the front and back of your calves.
Sway left and right (key movement): Very slowly tilt the board to the left, trying not to touch the ground, and then tilt it to the right.Note: You may notice that the injured foot “jammes” or trembles like a gear when performing this movement. This is perfectly normal and indicates that the nerves are working to reconnect.
Draw circles: Try to keep the edge of the balance board from touching the ground and make clockwise and counterclockwise circular motions.
Phase Two: Standing with both legs (establishing a static baseline)
Once you can smoothly control the board while seated, you can try standing.
How to get on the Balance Board: Place the Balance Board on a non-slip mat. Stand with your feet shoulder-width apart. You can hold onto a wall or chair back for support.
Find the center: Try to make the board completely horizontal, without touching the ground. Hold this position for 30 seconds.
Key point: Don’t stare at your feet. Look straight ahead and rely on the feeling in your feet to adjust.
Micro-perturbation training: While maintaining balance, try to bend your knees slightly and do small squats (just 10-15 cm). This will shift your center of gravity, forcing your ankles to find their balance point again.
Phase Three: Single-Leg Challenge and Interference (Building an “Anti-Sprain Shield”)
This is the stage where the gap truly widens, and it’s also the ultimate solution for completely resolving habitual ankle sprains and how to recover.
Single-leg balance: Try standing on the center of the Balance Board with the injured leg (with the other leg slightly raised).
Objective: To hold the board for 10-15 seconds without it touching the ground.Principle: When supporting yourself on one leg, all of your body weight is on one ankle joint, and the activation level of the peroneal muscles will reach its peak.
Blindfolded training: This is a huge challenge. Human balance relies primarily on three systems: vision, vestibular (inner ear), and proprioception. When you close your eyes, you cut off visual aids and force the brain to rely entirely on proprioceptive signals from your ankles.
Safety Tip: Please make sure to stand near a wall or have someone watching over you before proceeding.
Distract yourself by tossing and catching the ball: Stand on a board and have a friend toss a tennis ball to you. You catch it and toss it back. This action shifts your attention away from your ankles, putting them into “subconscious autopilot” mode—the state we really need on the court.
Expert advice and common misconceptions
1. Barefoot or with shoes?
In the initial stages of Balance Board training, barefoot training is strongly recommended.
The cushioning layer of the shoe sole filters out a lot of ground feedback. Going barefoot allows the skin of the foot to directly contact the board surface, maximizing the input of sensory signals and activating the plantar intrinsic muscles.
2. Quality over quantity
Many people, in pursuit of the advanced difficulty of standing on one leg, twist their bodies haphazardly and rely on waving their arms for balance. This is ineffective. If your form is distorted, please return to the previous stage.
Quality is far more important than duration.
3. Integrate into daily operations
You don’t need to dedicate an hour every day to practice. Place the Balance Board in front of the TV in the living room and stand on it for 5-10 minutes while watching the news.
For rehabilitation, frequent, short bursts of stimulation are often more effective than occasional high-intensity training.
Rebuilding Trust
The most terrible aftereffect of an ankle sprain is not the pain, but the fear. That hesitation—the fear of not being able to jump with full force or stop abruptly to change direction—is the killer of athletic performance.
The Balance Board is more than just a plank; it’s a bridge. It connects your injured tissues with your hesitant mind. Through daily practice, you strengthen not just a few muscles, but also absolute control over your body.
When your proprioceptive system is reactivated, you no longer have fragile ankles that might break at any moment, but a sophisticated chassis that can adapt to various terrains and react instantly.
Starting today, stand up and rediscover that long-lost, steady happiness.
FAQ
Q1: I sprained my ankle 3 days ago, can I use a Balance Board?
Absolutely not.
During the acute phase (usually 24-72 hours after injury, or until the redness, swelling, and pain have significantly subsided), your primary task is to follow the RICE principle (rest, ice, compression bandage, elevate the affected limb).
Using an unstable balance board too early can worsen ligament damage. Only begin attempting weight-bearing exercises while seated after your doctor or physical therapist has confirmed that you are ready to begin.
Q2: How long should I practice each day to see results and prevent re-injury?
The nervous system adapts very quickly. If you consistently practice for 10-15 minutes daily, you’ll usually feel a noticeable improvement in ankle stability within 2-4 weeks.
You’ll find walking is more stable, and your self-correcting reactions when stepping on uneven surfaces are faster. For long-term protection against sports sprains, it’s recommended to make balance board training a lifelong warm-up or cool-down habit.
Q3: There are different types of balance boards. Which one is suitable for ankle rehabilitation?
For beginners and those aiming for rehabilitation, it is recommended to choose a Wobble Board (with a hemispherical base that allows for 360-degree tilt) or a Rocker Board (with a curved base that allows for tilting only left, right, or forward and backward).
Avoid using a skateboard-style Roller Balance Board from the start, as the latter is extremely difficult and prone to slipping off, which is not only detrimental to early fixation rehabilitation but may also increase the risk of falls.